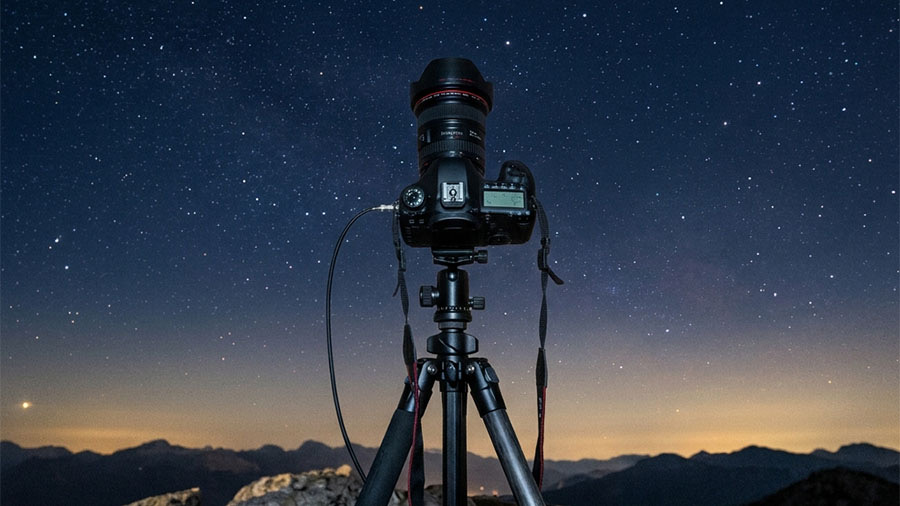
How to choose your gear
Which cameras and lenses actually gather enough light, what's worth buying second-hand, and the three accessories that matter. You'll know in ten minutes whether the gear already in your bag is enough — it usually is.
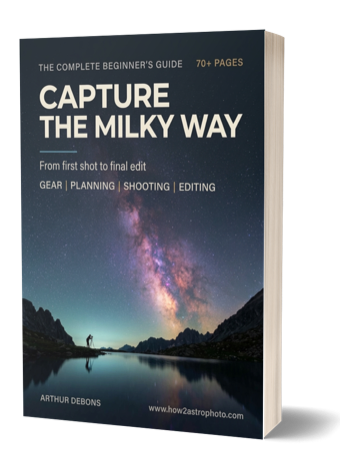
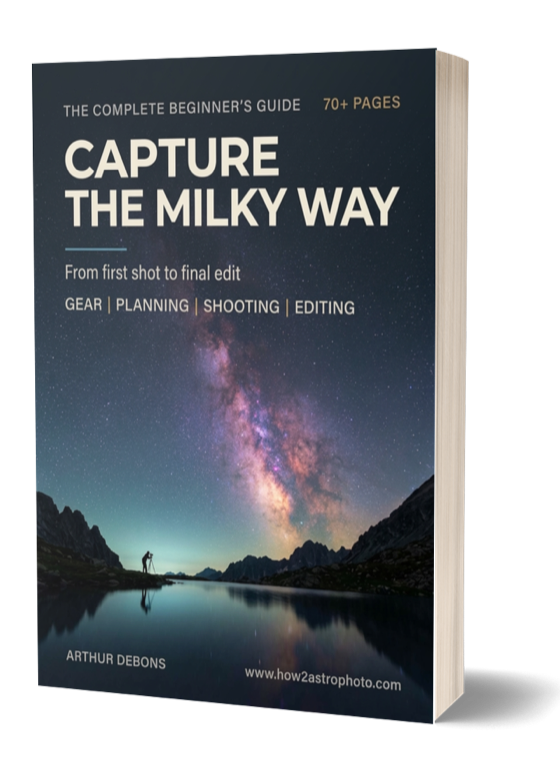
Learn how to capture the Milky Way in full detail using nothing more than a DSLR or mirrorless camera, a wide lens, and a tripod. No telescope. No star tracker. No expensive gear.
Instant download90-day money-back guarantee6 bonuses included
Before you ever get a photo you're proud of, the obstacles pile up.
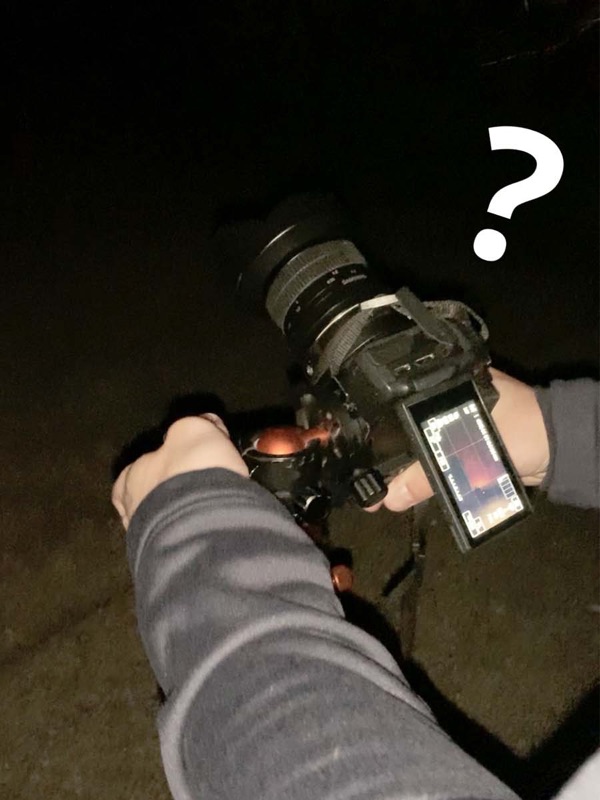
Good news: every one of these problems is completely normal.
And more importantly, every one of them is avoidable — as soon as you follow a clear, step-by-step method instead of collecting scattered tips.
Picture a warm night in July.
Not a cloud in the sky. The Moon has already set. You drove forty minutes to get away from the city lights, and above you the sky is dense with stars.
Your tripod is set up. You know exactly which settings to dial in, because you went through the field checklist included with the guide before you left the house. Focus takes you sixty seconds — the technique works every time now.
You take your first series of frames. The galactic core rises right where you expected it, because you planned the night instead of hoping.
No telescope. No heavy mount. A camera, a wide lens, a tripod — and a method you follow step by step, without overthinking it.
You drive home with the part most beginners dread still ahead of you: the editing. Except for you it's straightforward. You open the processing chapter and follow it slider by slider, like following a recipe, and watch the dust lanes and color come out of a file that looked gray an hour ago.
An hour later your photo is finished. Ready to print, to frame, or to post — whatever you want to do with it.
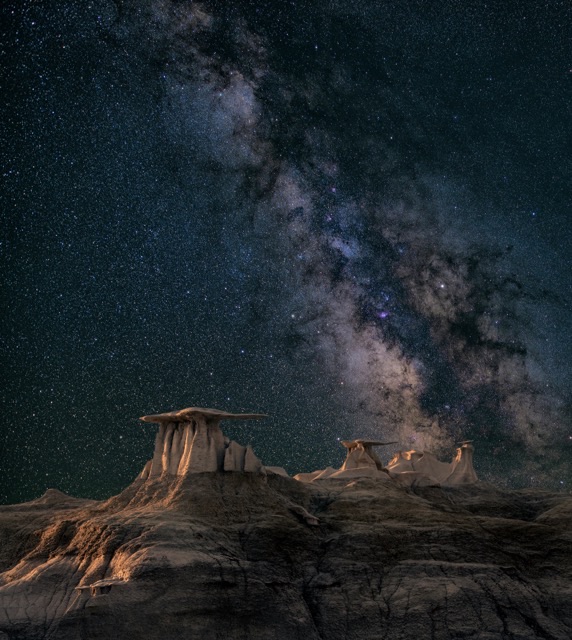
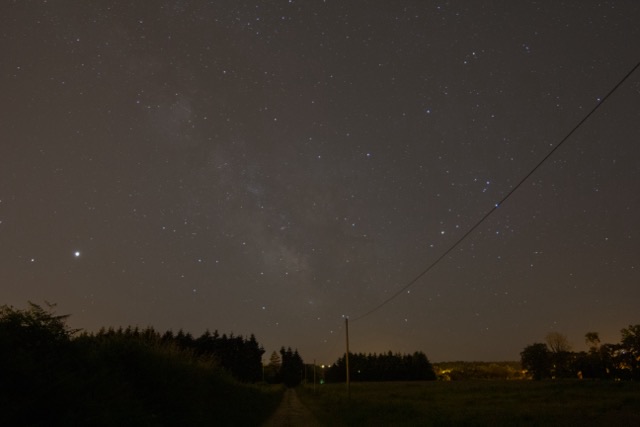
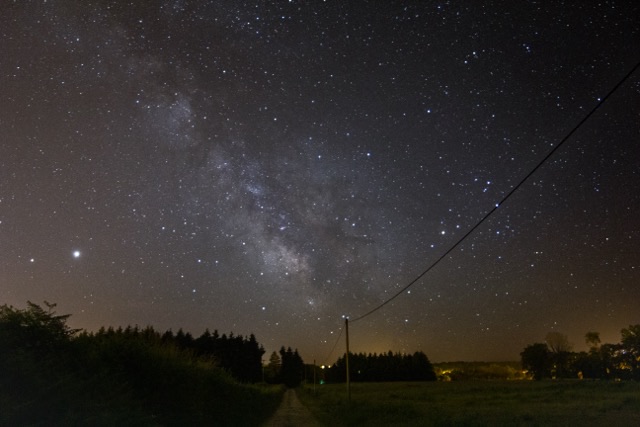 BeforeAfter
Drag the slider.
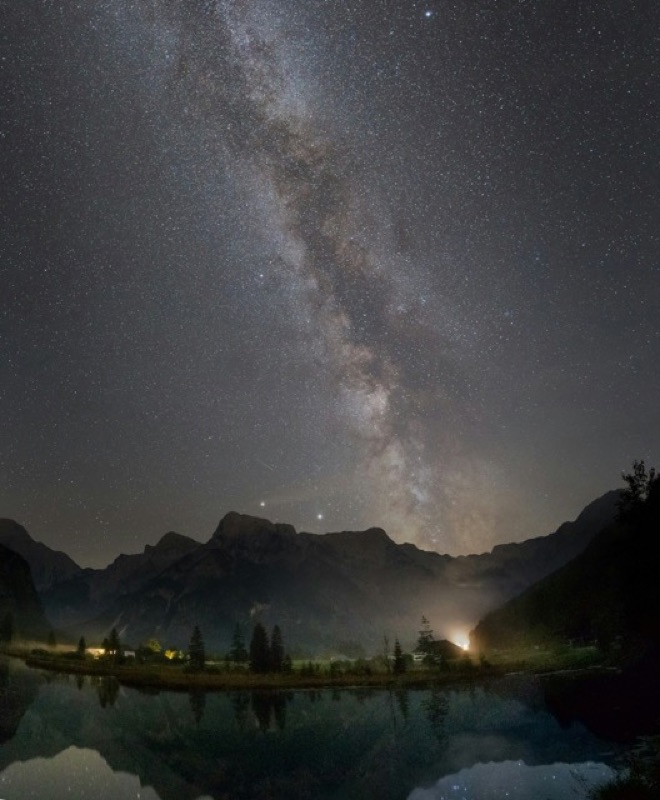
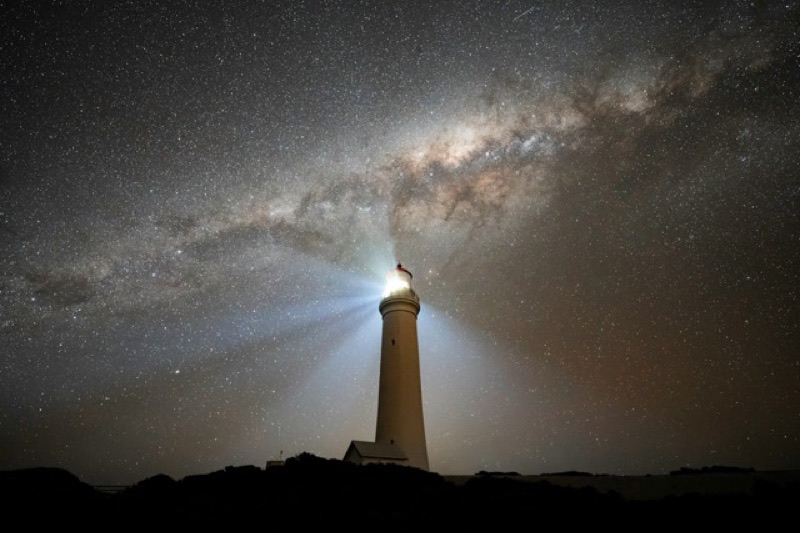
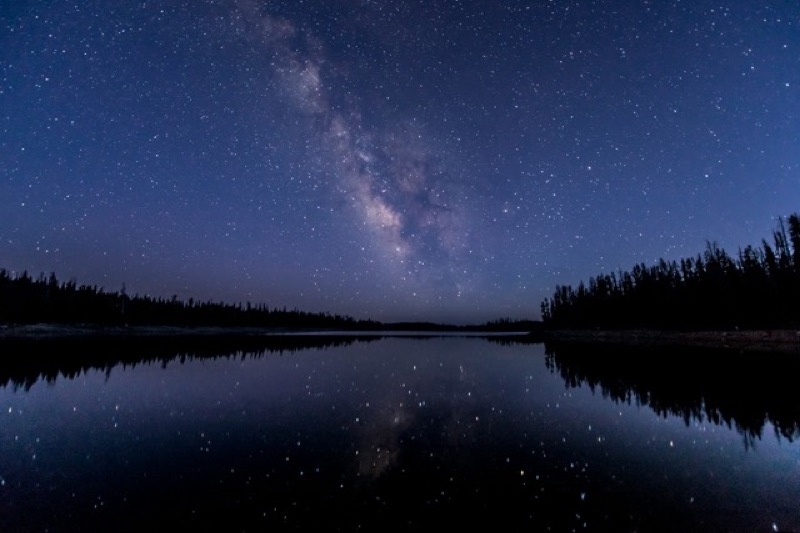
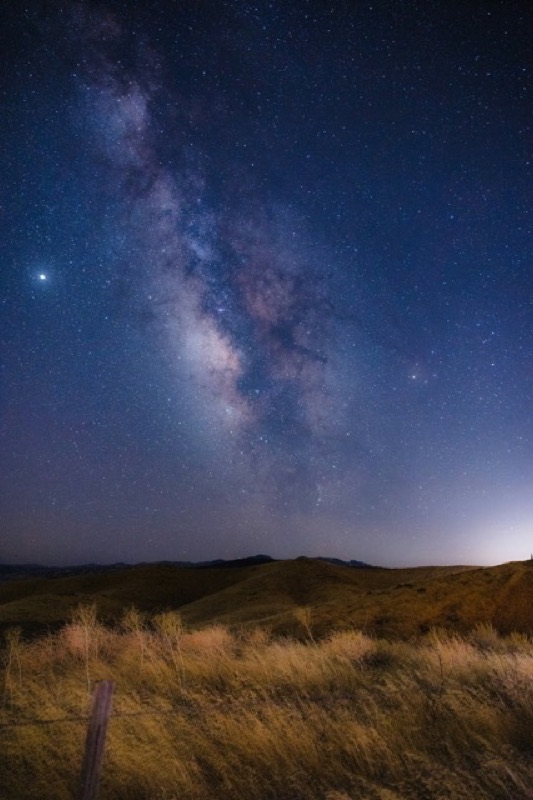
Both frames shot with simple, accessible gear: a Canon 6D, a 14 mm f/2.8 lens and a tripod. Nothing else.
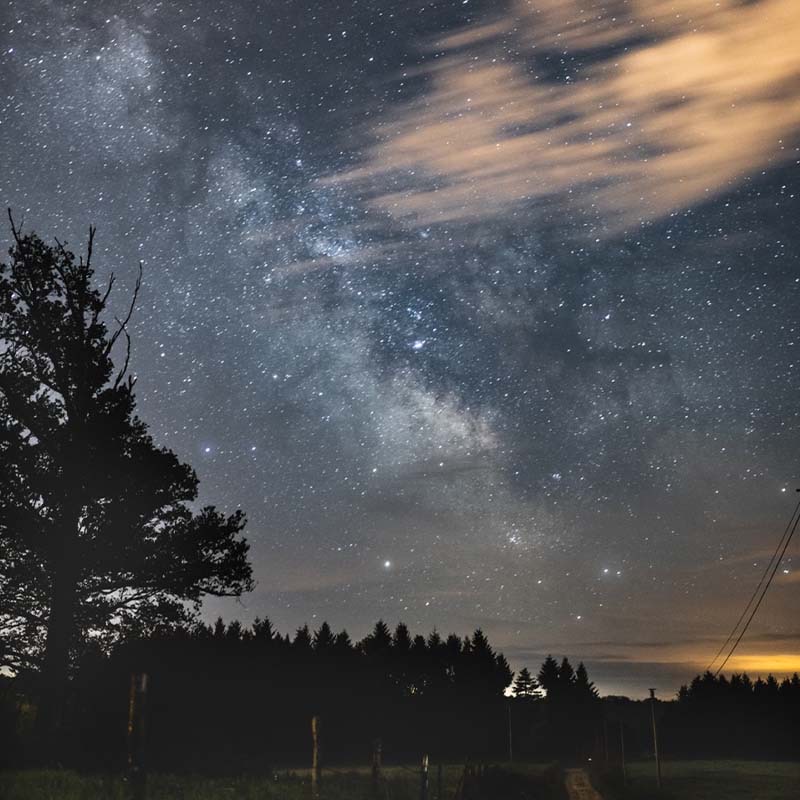
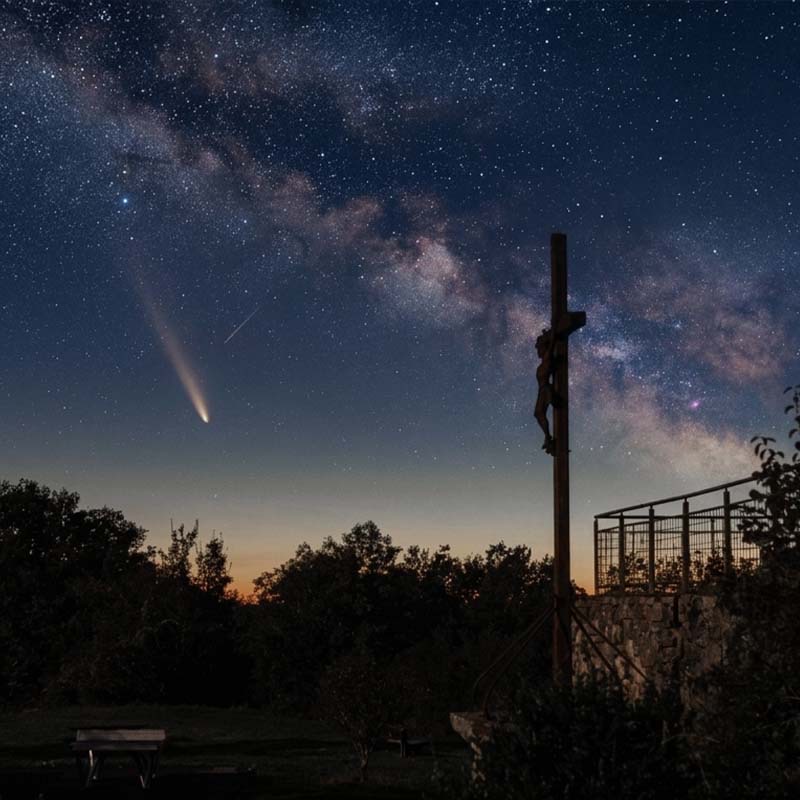
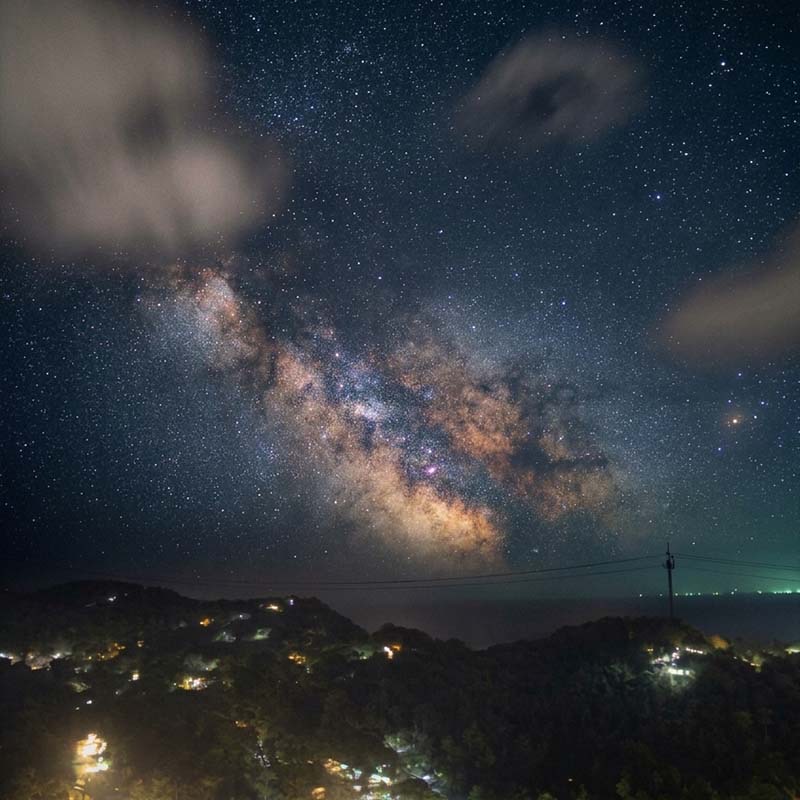
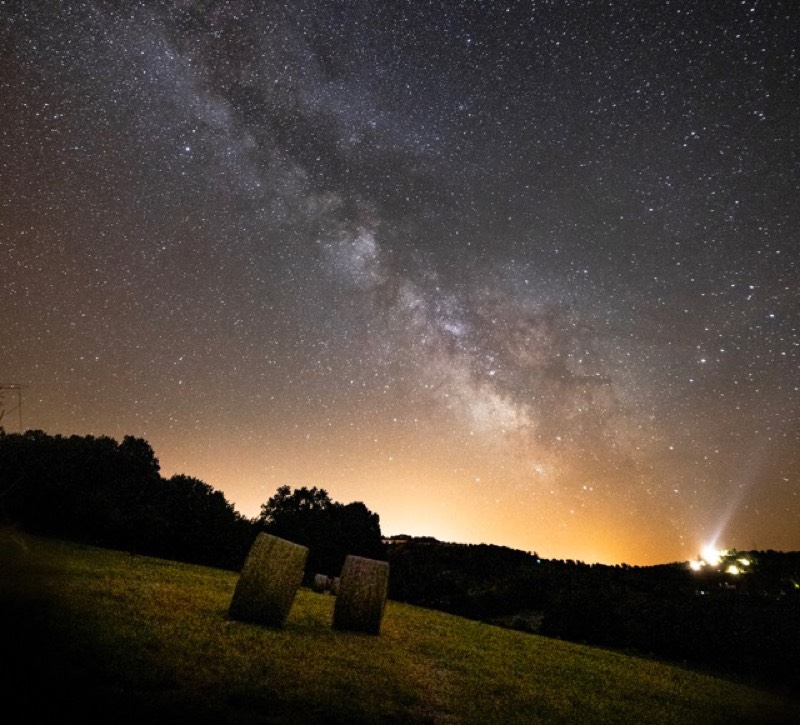
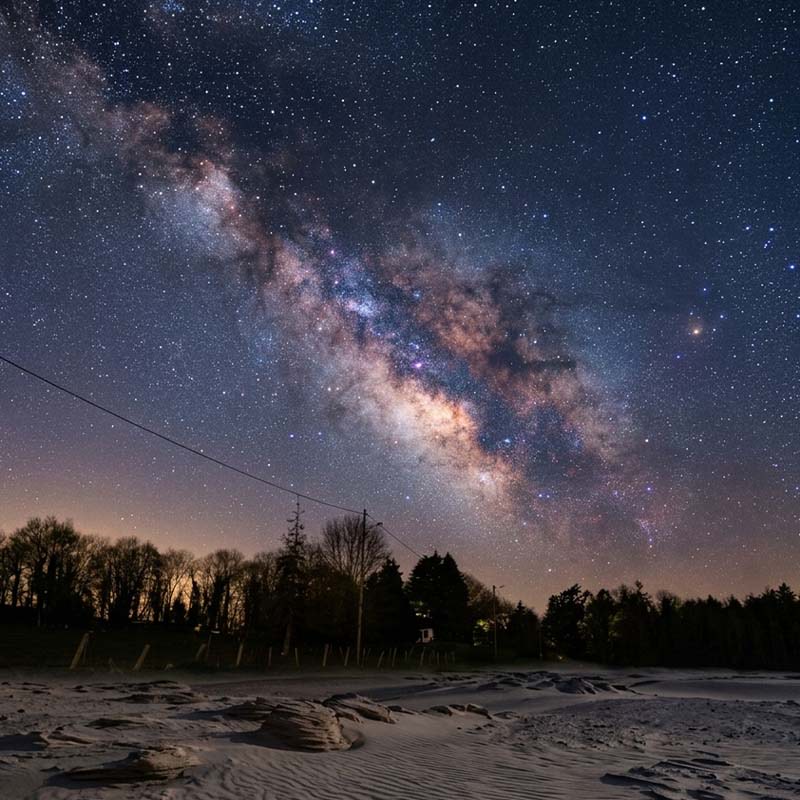
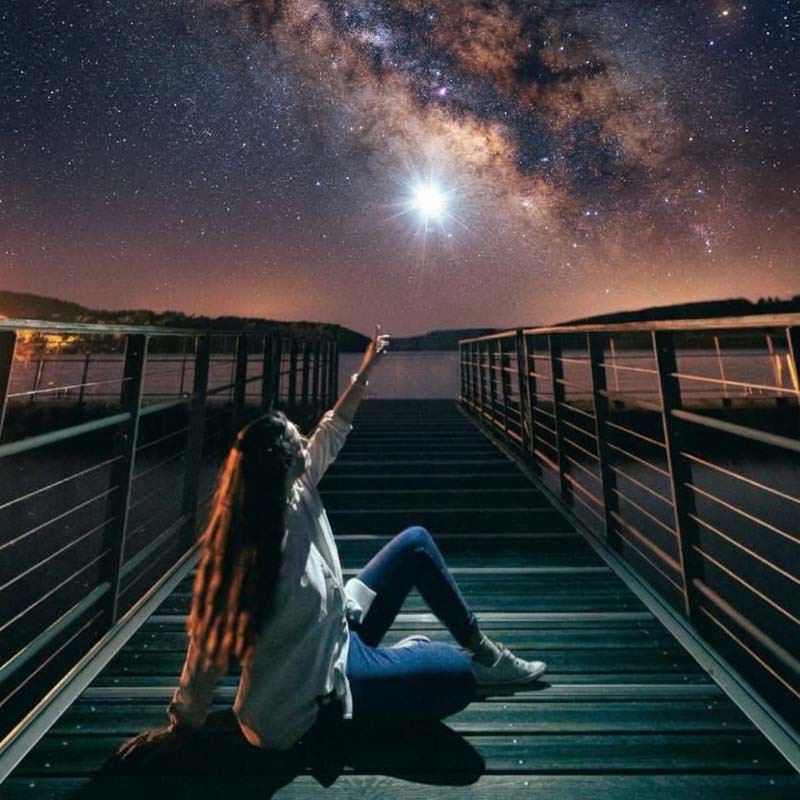
All of them with the same simple setup. No telescope, no equatorial mount.
Every one of them started from scratch.
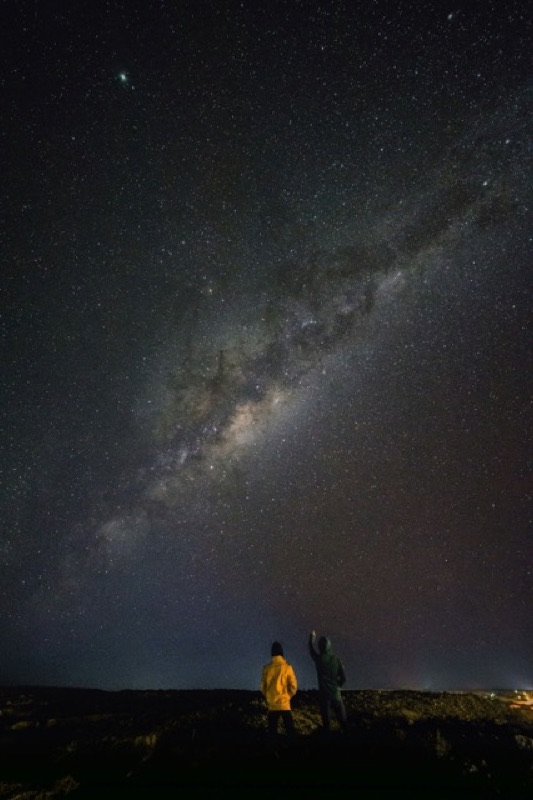
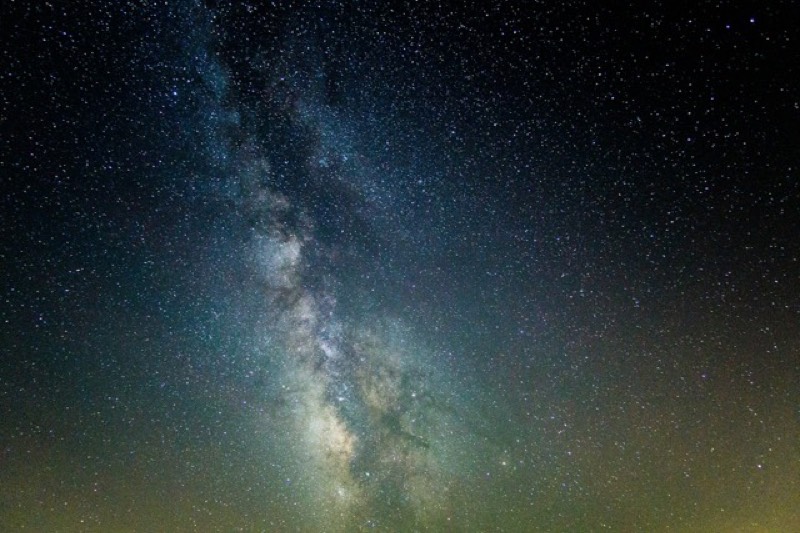
Which cameras and lenses actually gather enough light, what's worth buying second-hand, and the three accessories that matter. You'll know in ten minutes whether the gear already in your bag is enough — it usually is.
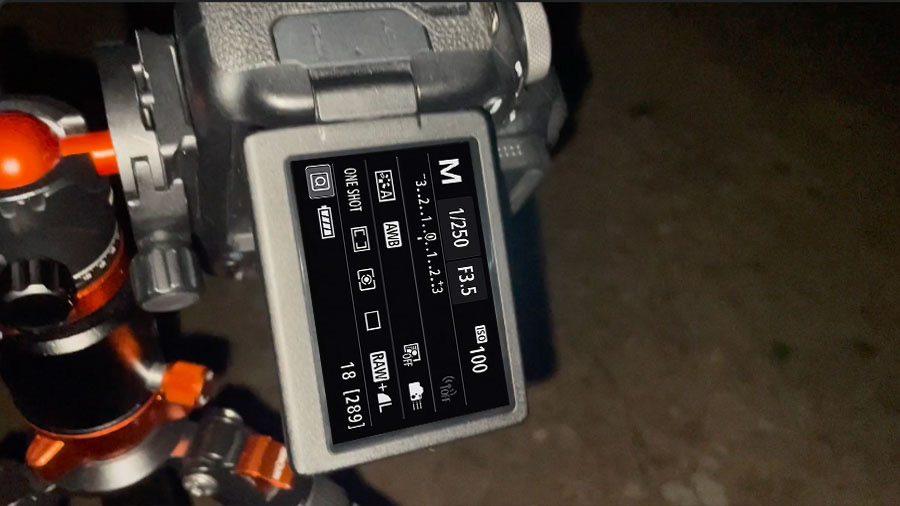
Manual mode, demystified: aperture, ISO and shutter speed, the longest exposure your lens allows before stars trail, and the focus routine that works every time in total darkness. This is the chapter that turns blurry frames into sharp ones.
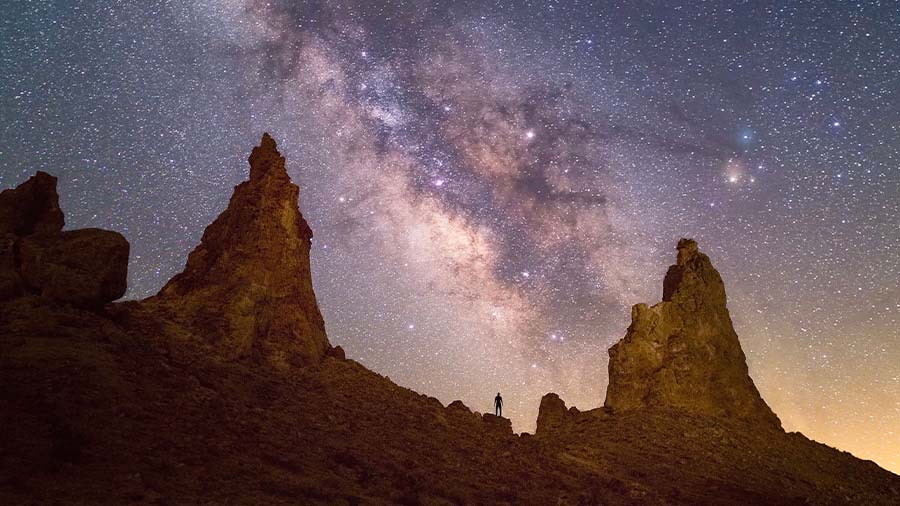
When the Milky Way is visible, where the galactic core rises, which moon phases to shoot and which to skip, and how to read a light-pollution map so you drive to a sky that's actually dark. Both hemispheres covered.
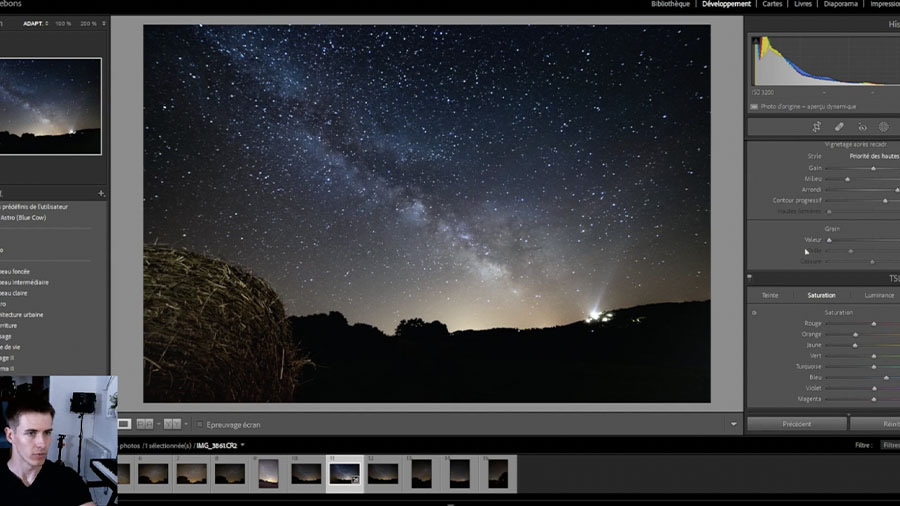
The complete editing workflow, slider by slider, in the order that matters — pulling out the dust lanes and color while keeping the sky natural. Shown in Lightroom and Photoshop, with the free Darktable and GIMP equivalents.
Everything below comes with the guide, at no extra cost.
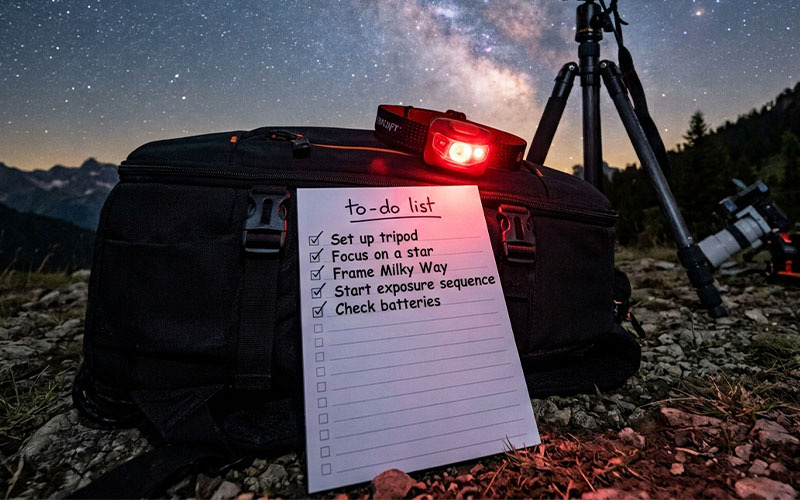
One page with everything that matters: what to pack, your settings, the focus routine, the order of operations once you're on site. Print it, fold it, keep it in the bag — no screen glare at 2 a.m.
✅ Included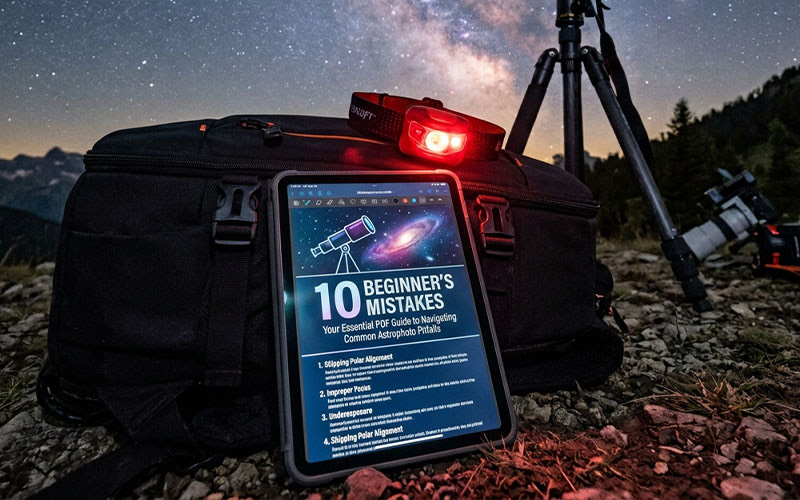
A short, blunt PDF listing the errors almost every beginner makes — and exactly how to sidestep each one, so you don't lose two years figuring it out the hard way.
✅ Included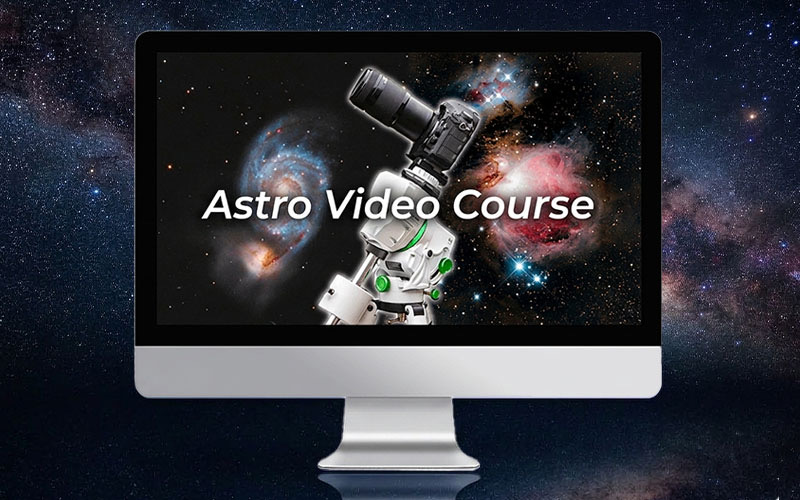
An introduction to deep-sky astrophotography: nebulae and galaxies, the targets that lie beyond the Milky Way. What the discipline involves, how it differs from a night under the galactic core, and what you'd need to try it. An overview to help you decide whether it's your next step — nothing in the guide itself requires it.
✅ Included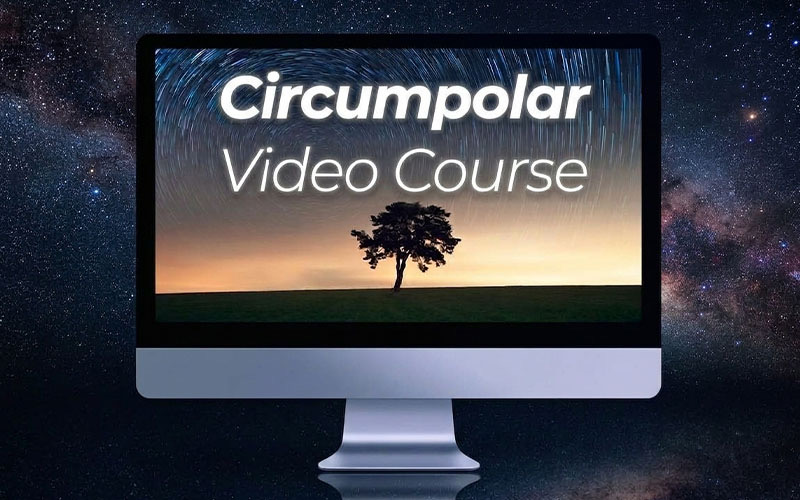
Turn a rotating sky into concentric arcs around the pole star. Planning, in-camera settings, stacking and the editing pass — including what to do when a cloud ruins frame 300.
✅ Included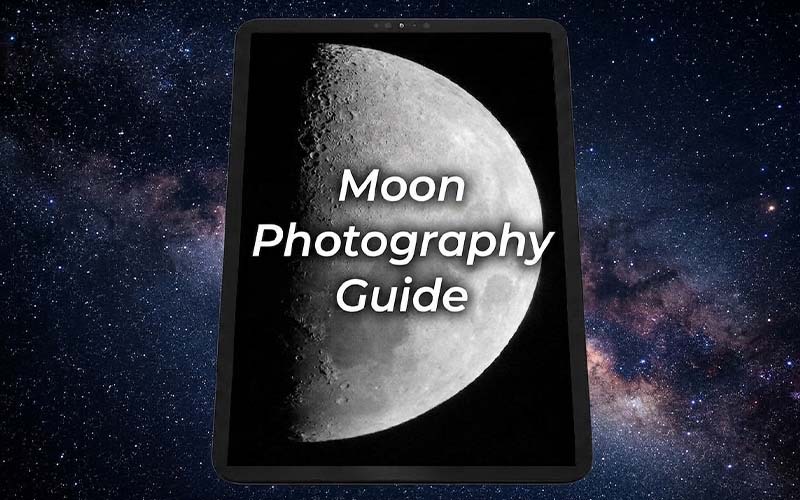
The nights the Moon is too bright for the Milky Way become your best nights for something else. Crisp lunar detail with your basic gear, in three simple steps.
✅ Included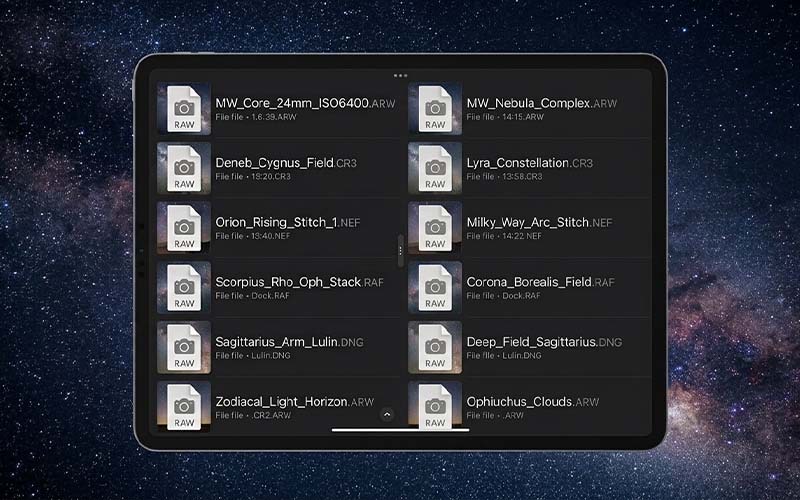
Real RAW files from my own sessions. Follow the processing chapter click by click on the same images I used, so you learn the whole workflow before you risk your own photos.
✅ Included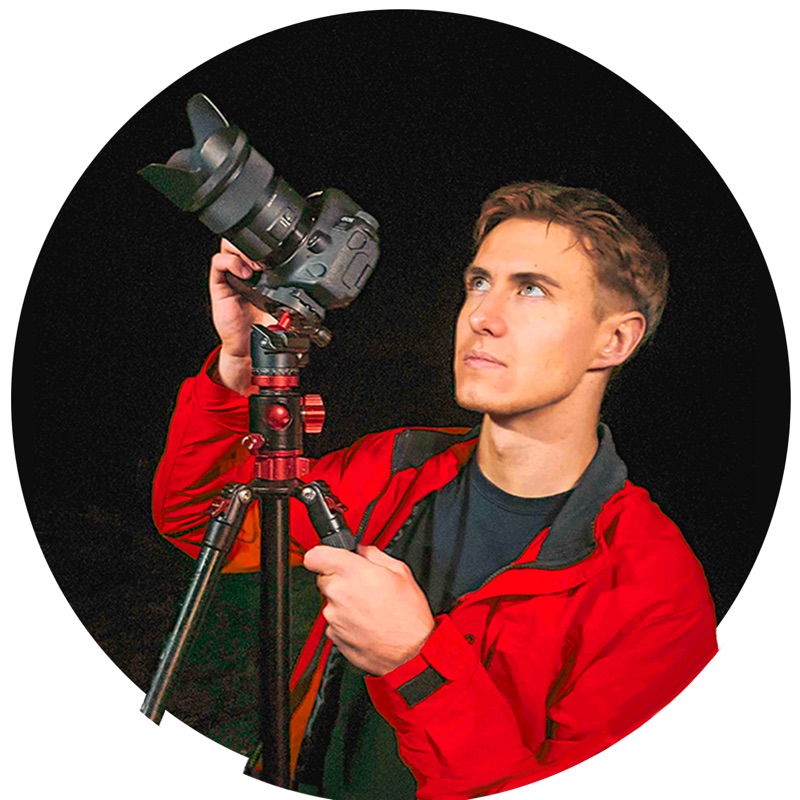
I haven't introduced myself yet, so here's what matters:
My name is Arthur Debons. I started the blog fais-de-la-photo.fr in 2018 to teach the basics of astrophotography, and I've been shooting the night sky ever since.
My own first Milky Way attempts were a gray smear over a black field, and I had no idea which of the fifty things I was doing wrong. What finally fixed it wasn't a better camera — it was having an order: what to decide before leaving the house, what to do on site, what to do on the computer.
After sharing that method with more than 7,200 subscribers, I put all of it into this guide — so you can skip the two years I spent getting there.
Arthur DebonsAstrophotographer · how2astrophoto.com
🔒 Secure checkout⚡ Delivered by email in secondsOne payment, yours forever
The Complete Bundle is normally $199. That's what's in it: the full guide, every bonus PDF, and two video courses.
But for the launch period, you can get the whole thing for $19.
The reason is simple. This guide is brand new, and I want it in as many hands as possible, as fast as possible — because the readers who get results from it are the ones who tell other people about it. Right now that's worth more to me than the margin.
Read it, take it out under a real sky, run the edit. If you're not completely satisfied with your results, email me within 90 days and you get a 100% refund — no form to fill in, no explanation needed. You keep the bonuses either way. The risk is mine, not yours.
You get now
90-day guaranteeInstant download